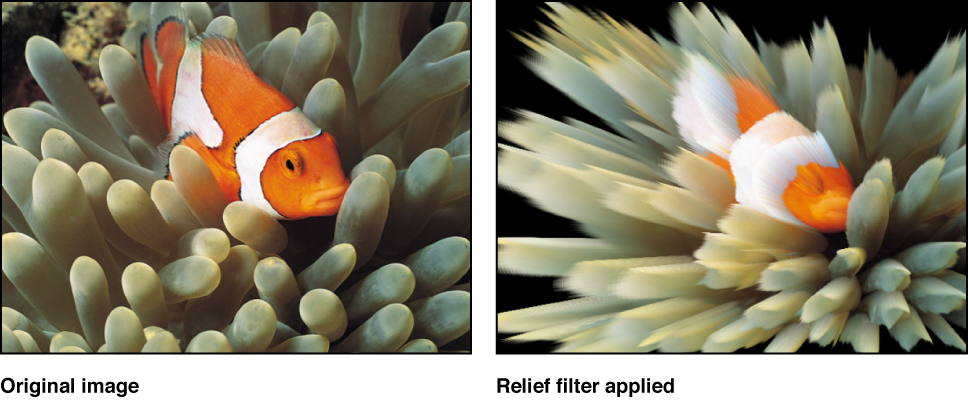
Relief
Uses the color values of an image to calculate height vertices, creating the appearance of a 3D height map.
Note: Because this filter simulates depth, an object with the Relief filter applied does not interact with 3D aspects of Motion.
Adjust this filter using the parameter controls in the Filters Inspector:
Front: Sets the position of the center point of the front of the height map, determining the direction to which the height vertices are projected. Values are coordinates. Drag the inner or outer onscreen controls to adjust this value.
Front Size: Sets the size of the front of the height map, as a proportion of its original size.
Back: Sets the position of the center point of the back of the height map, determining the direction from which height vertices are projected. Values are coordinates. Drag the inner or outer onscreen controls to adjust this value.
Back Size: Sets the size of the back of the height map, as a proportion of its original size.
Fuzziness: Sets the amount of fuzziness applied to the height vertices. The higher the value, the softer the edges of the height vertices.
Height Map: Displays a thumbnail of the height map chosen. If present, the height map is used to calculate height vertices.
Map Channel: Sets the channel used to calculate height vertices. If a height map is present, the channel is selected from the height map, otherwise the channel is selected from the image. Values can be selected from the following: Luminance (default), Red, Green, Blue, or Alpha.
Mix: Sets the percentage of the original image to be blended with the filtered image.
Publish OSC: Publishes the filter’s onscreen controls in Final Cut Pro X. For more information on creating content for use in Final Cut Pro, see Final Cut Pro templates overview.